
Cost Effective and High Quality
STUCCO REPAIR
SERVICES
Residential - Commercial
GET A FREE ESTIMATE
EIFS Repairs
Stucco Repairs


Professional Stucco Repairs
Solida Coatings has been helping homeowners, builders, contractors, developers and property managers for over 15 years with stucco repair projects. It is our mission to provide best results for your building’s exterior cladding system. We offer our services for various stucco repair projects.
Solida Coatings is a stucco contractor offering exterior coating repair and restoration services for both residential and commercial properties. We take on any size and kind of repair project with ease, using only use top quality materials from reputable suppliers which helps provide better results for your project. Solida Coatings offers free estimates for stucco repair projects.
Stucco Repair Services
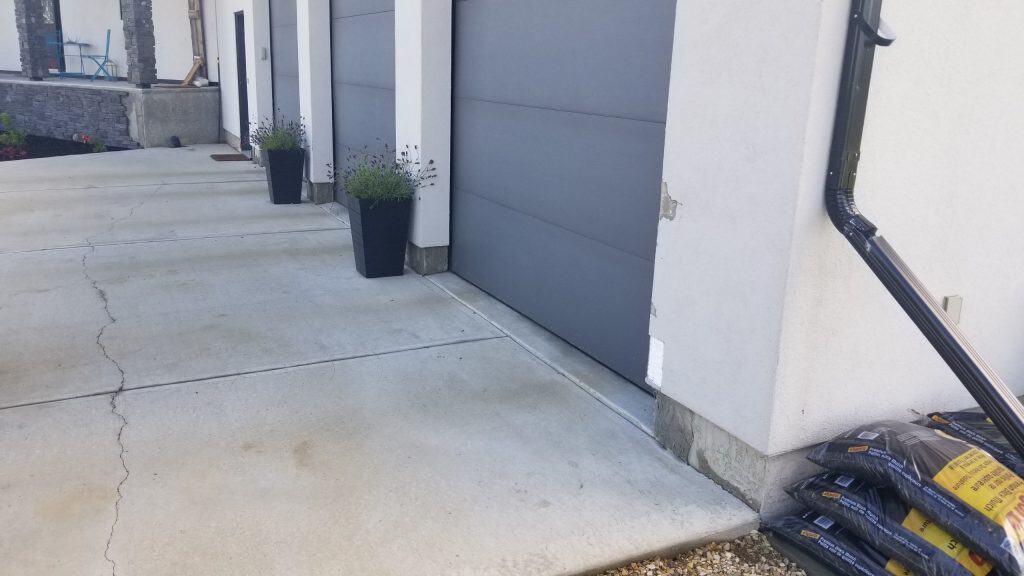
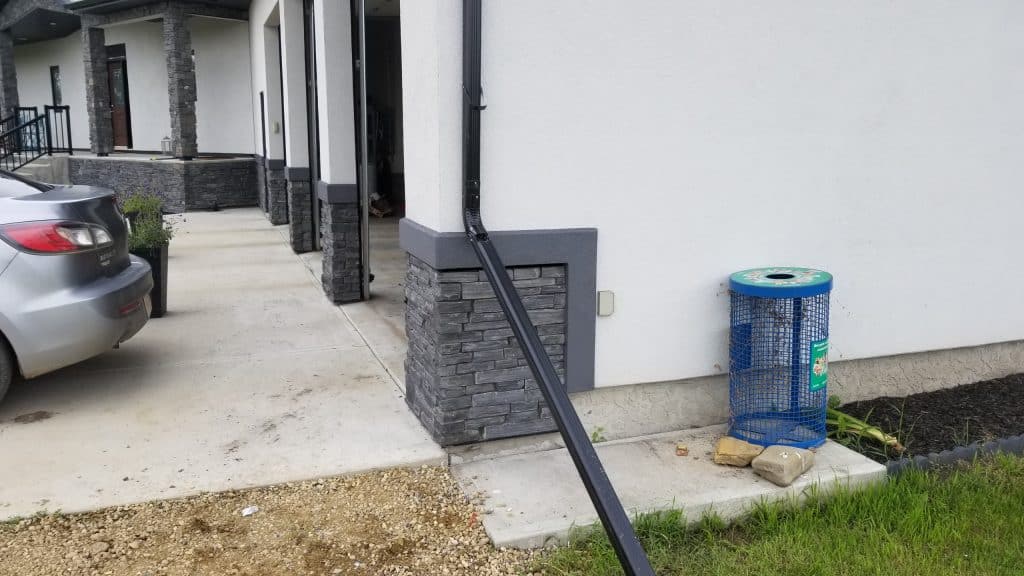
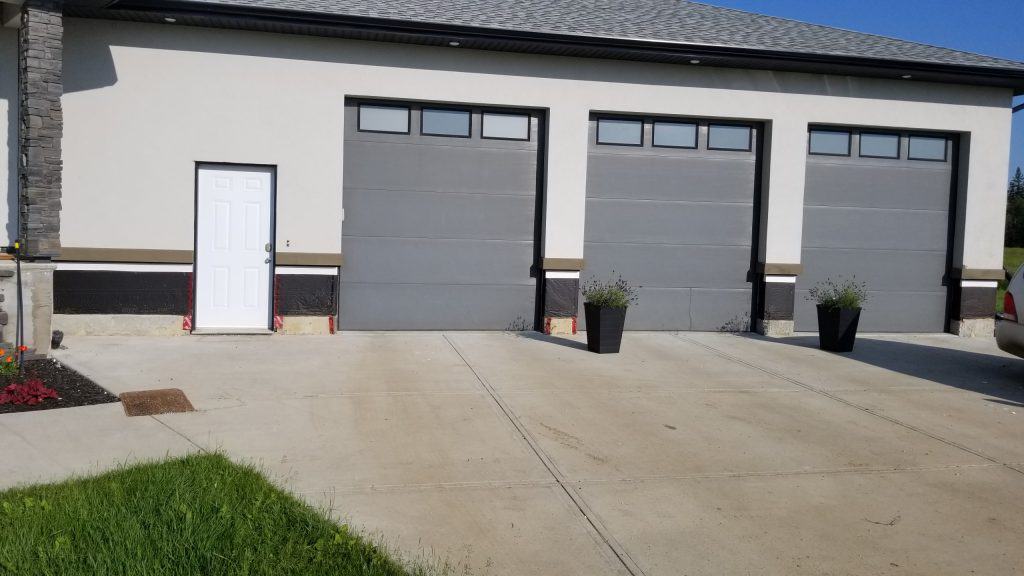
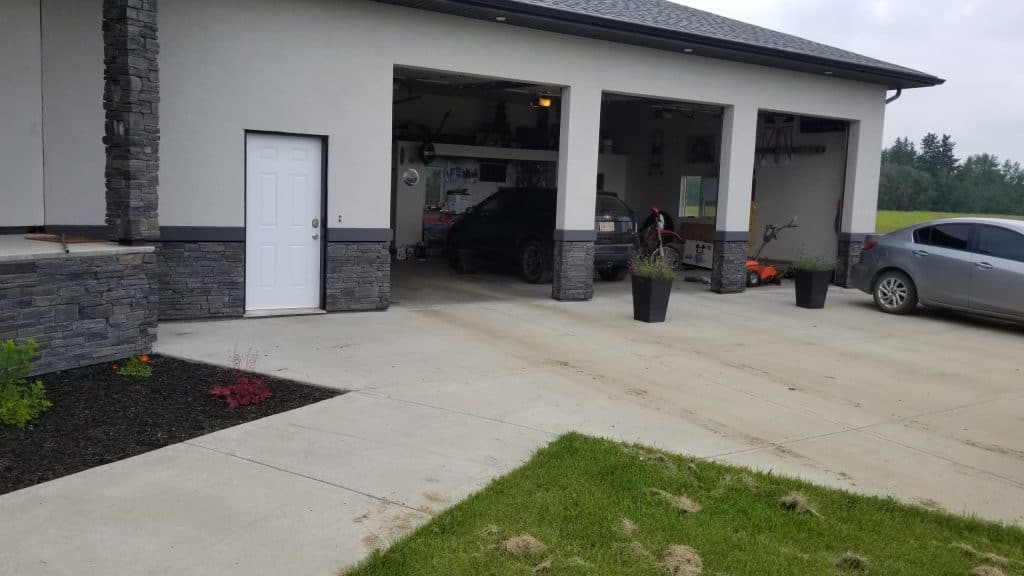
Due to external factors or negligence while installing, stucco might have problems that require repairs. Solida Coatings can easily solve your stucco related problems. Whether it’s water leakage, damaged walls or color fades, we’ll be more than happy to provide you with the best results. We offer the following stucco repair services;
- EIFS Repairs
- Cement Stucco Repairs
- Water Leakage & Moisture Damage Repairs
- Crack Repairs
- Blistering and Bubbling Repairs
- Woodpecker Damage Repairs
If the damage is too serious for a stucco repair service, it is highly recommendable to go with stucco retrofitting. Retrofitting will not only get rid of the existing issues, it will also provide your building’s exterior with a fresh stucco application with all the benefits. Additionally, retrofitting is an convenient and affordable way for buildings to have a fresh look while gaining extra protection and visual appeal. Contact us today for your free estimate today.
What Are the Common Types of Stucco Damage and How Do They Affect Your Home?
Stucco damage falls into predictable categories that affect both aesthetics and building performance, and understanding each type helps prioritize repairs. Damage ranges from superficial hairline stucco cracks that mainly affect appearance to delamination and water-damaged stucco that threaten substrate integrity and insulation. Recognizing types early reduces the chance of hidden moisture migration behind the finish, which often leads to mold and higher remediation costs.
Common stucco damage types and one-line impacts:
- Hairline cracks: Cosmetic surface cracks that can allow surface water entry if left unsealed.
- Structural stucco cracks: Wider or stair-step cracks indicating movement or framing issues that can compromise integrity.
- Water-damaged stucco (bubbling/delamination): Indicates moisture intrusion and possible substrate rot behind the finish.
- Efflorescence and staining: Mineral deposits signaling chronic moisture transport through the assembly.
- Impact and physical damage: Localized loss of finish exposing lath and substrate to further deterioration.
These categories guide the next step—diagnostics and cause analysis—so you can decide whether a simple patch or full remediation is necessary.
What Causes Stucco Cracks and How Can You Identify Them?
Cracks in stucco arise from settlement, thermal movement, improper mix or cure, and installation faults; identifying the type helps define urgency and method of repair. Hairline stucco cracks are typically thin, surface-level, and follow no pattern, while structural cracks are wider, may be diagonal or stair-stepped, and often align with windows, corners, or foundation movement. Identification steps include measuring crack width, checking for correlated movement at openings, and observing whether cracks recur after repair; repeated failure often points to underlying structural or moisture issues. Detecting the underlying cause reduces rework and informs whether to use simple patching compound, crack injection, or to remove and re-stucco a section.
Recognizing cause leads directly to moisture assessment techniques described in the next subsection, which differentiate surface cracking from water-driven failures.
How Does Water Damage Impact Stucco and What Are the Warning Signs?
Water-damaged stucco usually begins with flashing failure, poor drainage, or compromised weep screeds, and it manifests as bubbling, soft substrate, staining, or delamination; early detection prevents costly substrate repairs. Warning signs include visible bulging of the finish, areas that sound hollow when tapped, brown stains on interior drywall near affected walls, and persistent efflorescence on the surface. Simple physical checks—light tapping, probing with a non-destructive tool, and looking for paint adhesion failure—help determine whether damage is surface-only or has reached the sheathing and framing.
Because moisture is a leading driver of failure, the next section explains other damage types you should monitor alongside water issues.
Humidity-Induced Cracks and Pathologies in Construction Humidity is capable of causing fissures and cracks, leading to various pathologies in civil construction. These can include mold, efflorescence, mildew, blisters in the paint, loss of plaster, and other forms of deterioration. A premature and accurate diagnosis regarding the manifestation of these humidity-related issues is essential for effective repair and prevention.
What Other Stucco Damage Types Should You Watch For?
Beyond cracks and water intrusion, secondary problems like efflorescence, insect intrusion behind delaminated stucco, and impact damage can signal systemic issues that require different responses. Efflorescence appears as white, crystalline deposits from salts carried by moisture and indicates chronic dampness; impact damage such as holes or gouges requires local patching but may expose lath and sheathing if deep. Delamination—where the stucco separates from the lath—creates hollow-sounding areas and often requires removing the finish to inspect and repair substrate attachments.
Spotting these issues early lets you prioritize drainage and flashing fixes before scheduling surface restoration.
When Is Stucco Damage Structural and Requires Immediate Attention?
Structural stucco damage shows clear red flags—large widening cracks, bulging walls, separation at corners, or recurring moisture despite repairs—and demands prompt professional assessment. If cracks exceed hairline width (commonly more than 1/8 inch), if you observe wall displacement, or if interior finishes show buckling or persistent dampness, treat the condition as potentially structural. Immediate homeowner triage should include stopping active water sources, documenting affected areas, and avoiding cosmetic patches that conceal deeper failures.
Calling a qualified inspector or contractor quickly reduces the risk of further structural deterioration and prevents more expensive full-system remediation. Knowing when damage is structural leads naturally to the next major topic: what homeowners can confidently repair themselves versus what requires a pro
What Are the Step-by-Step Methods to Fix Hairline and Small Stucco Cracks?
A reliable hairline crack repair follows a simple sequence: clean, prepare, bond, patch, texture, and cure—each action preserving adhesion and weather resistance. Start by removing loose particles and dust with a wire brush, then widen brittle edges slightly to ensure the patch holds. Apply a bonding agent to the prepared crack, fill with a compatible stucco patching compound using a margin trowel, and replicate the existing texture with a sponge, brush, or stipple tool while the patch is wet. Allow full curing per product instructions—often 24–72 hours—then prime and paint if color match is needed; scheduled observation helps catch early recurrence.
Following these steps reduces the likelihood of rework and primes the homeowner to handle small water-damage patches, described next.
When Should You Avoid DIY and Call a Professional?
Avoid DIY when you see recurring moisture after repair, evidence of substrate rot, large structural cracks, or when repairs exceed a small, localized area; these conditions require professional moisture remediation and re-stuccoing. If inspection reveals delamination, mold growth behind the finish, significant sheathing decay, or if the repair involves windows, roof intersections, or multi-story access, hire an experienced contractor. Professionals have moisture meters, infrared diagnostics, scaffolding, and knowledge of flashing and weep screed installation to ensure lasting remediation. Prioritizing safety and correct diagnosis prevents cosmetic fixes that hide serious underlying failures.
When and Why Should You Hire Professional Stucco Repair Contractors?
Hiring a professional is advisable for comprehensive diagnosis, moisture remediation, flashing repair, and any full-area re-stuccoing projects; contractors bring tools, code knowledge, and warranty options that a DIY approach cannot replicate.
Contractors offer a range of services from targeted patching to full wall system replacement, and they evaluate substrate, flashing, and drainage to ensure long-term success. Proper vetting reduces the risk of poor workmanship, and a clear questionnaire helps compare estimates and warranties. The subsections below list typical contractor services, selection steps, benefits of professional remediation, and how pros handle severe water intrusion.
What Types of Stucco Repair Services Do We Offer?
We provide services spanning inspection and diagnostics, targeted patching and texture matching, moisture remediation including replacement of building paper and sheathing, flashing and weep screed repair, and full removal and re-stuccoing for severely damaged façades. Inspection services often include moisture meters and sometimes infrared scanning to map affected areas, while remediation can include sheathing replacement, improved drainage planes, and recoating with modern EIFS-compatible or cementitious systems. Understanding which service matches your condition helps frame accurate quotes and timelines, and it prepares you to ask the right technical questions.
Knowing available services helps you evaluate contractors; next we provide a practical selection checklist and red flags to watch for.
Practical contractor vetting checklist:
- Request detailed, written estimates that break out scope, materials, and labor.
- Ask for references and portfolio photos of similar projects showing before/after work.
- Confirm insurance and warranty for both workmanship and materials.
These items narrow reputable providers and lead into considerations about the benefits and ROI of professional work.
How to Find and Choose a Reliable Stucco Repair Contractor?
Finding a reliable stucco contractor requires comparing written scopes, verifying insurance coverage, checking portfolios for texture and color-matching skill, and asking for specific warranty terms; trust is built on transparent documentation. Good questions include asking how the contractor diagnoses moisture, what products they use for bonding and sealing, whether they install or repair flashing and weep screeds, and how they handle substrate replacement. Red flags include verbal-only estimates, lack of references, unusually low bids without detailed scope, and reluctance to document warranties. A methodical approach prevents surprises and clarifies who is responsible for long-term performance.
Choosing correctly yields measurable benefits, which the next subsection summarizes to justify professional investment.
What Are the Benefits of Professional Stucco Remediation?
Professional stucco remediation ensures durable adhesion, correct moisture management, and compliance with building practice—reducing recurrence, avoiding hidden mold or rot, and preserving property value. Contractors can correct underlying defects such as improper drainage or flashing, use appropriate bonding agents and materials for compatibility, and provide warranties that protect homeowners against premature failure. The investment often yields long-term ROI by preventing expensive structural repairs, preserving insulation performance, and improving curb appeal for resale. The next subsection outlines the contractor workflow so homeowners know what to expect during severe repairs.
Water Management in EIFS and Direct-Applied Wall Assemblies The water management and moisture transport in direct-applied and EIFS wall assemblies are critical for the long-term performance and durability of the building envelope. Understanding how water penetrates, drains, and is retained within these systems is essential for preventing moisture-related failures, such as mold growth, material degradation, and structural damage. This paper investigates the behavior of moisture in both direct-applied and EIFS wall assemblies under various in-service conditions, focusing on the role of drainage planes and the mass of water retained.
What Factors Influence Stucco Repair Costs and How Can You Estimate Them?
Stucco repair costs depend primarily on damage extent, stucco type (traditional cement vs EIFS/synthetic), access and height, labor rates, and whether substrate repair or moisture remediation is required. Small hairline crack sealing is inexpensive, while full-area re-stuccoing or moisture-driven substrate replacement is significantly more expensive; location and scaffolding needs add further cost. To help compare scenarios, the table below matches damage types with typical cost ranges, repair time, and urgency so you can quickly estimate likely budgets for quotes. After the table, we discuss DIY vs professional cost differences and how to secure accurate estimates.
Cost comparison by damage type:
Damage Type | Typical Cost Range (USD) | Typical Repair Time | Urgency |
Hairline cracks | $200 – $500 | 1 day | Low |
Localized patching (small areas) | $300 – $1,500 | 1–3 days | Medium |
Water-damaged sections (substrate repair) | $1,000 – $10,000 | Several days | High |
Full re-stucco or system replacement | $5,000 – $30,000+ | 1–3 weeks | High |
This table clarifies how complexity and substrate work drive price; next we examine how stucco type affects costs.
What Is the Average Cost Range for Stucco Crack and Water Damage Repairs?
Average costs vary widely: basic hairline crack sealing or small patching often runs from low hundreds to around a thousand dollars including materials and labor, while water-damage repairs that require substrate replacement typically cost several thousand dollars, and full re-stuccoing can exceed five figures. The lower end reflects simple surface patching and sealant, while the upper end includes scaffold rental, sheathing replacement, flashing upgrades, and high labor intensity. These ranges help homeowners bracket expected quotes and prepare for contingency allowances in budgets.
How Do Damage Extent and Stucco Type Affect Repair Pricing?
Traditional cement stucco repairs often involve cementitious patching and re-coating, while EIFS/synthetic stucco may require specialized materials, conditioning and careful detail work to maintain EIFS-specific drainage planes; both labor and material differences affect pricing. Cement stucco is typically heavier, may require different lath and scratch/brown coats, and can be more labor-intensive to match texture. EIFS repairs may demand system-specific products and trained installers, and costs rise if the drainage plane or polymer-based finishes must be matched. If substrate repair is necessary, replacement of sheathing and flashing multiplies labor and material costs irrespective of finish type.
How Can You Get Accurate Stucco Repair Estimates?
Obtain at least three written estimates with identical scopes that specify diagnostic steps, access, warranty, and assumptions about substrate condition; provide contractors with photos and a clear list of concerns to ensure apples-to-apples comparisons. Key questions include asking whether moisture testing is included, whether flashing or sheathing replacement is assumed, what products will be used, and what warranty terms apply. Comparing line items rather than lump sums highlights differences in approach and helps decide where to invest for longevity versus low-cost cosmetic fixes
What Is the Return on Investment for Timely Stucco Repairs?
Timely stucco repairs prevent escalation into structural failures, mold remediation, and full re-stuccoing, often saving homeowners significant sums and protecting property resale value; the ROI frequently appears as cost avoidance rather than direct revenue. For example, fixing a localized water intrusion early can avoid the exponential costs of replacing sheathing and addressing mold, and maintaining exterior envelope integrity preserves insulation performance and curb appeal. While exact percentages vary, avoiding a large remediation project by addressing small flaws generally yields high ROI through avoided structural and health-related expenses.
Which Stucco Repair Materials and Products Are Best for Effective Restoration?
Choosing the right materials—cement-based vs acrylic premixes, appropriate bonding agents, and high-quality sealants—directly influences repair longevity and compatibility with existing stucco. Materials selection depends on whether the finish is traditional cement stucco or synthetic/EIFS, and whether repairs are surface-only or require substrate bonding. Tools and technique also matter for texture matching and durability; the table below compares common product categories, typical uses, and cost/durability considerations to guide selection.
Comparison of repair materials and typical uses:
Material/Product | Typical Use | Durability / Cost Consideration |
Cement-based patch | Traditional stucco patches and brown coat repairs | High durability, low material cost, labor-intensive |
Acrylic premix patch | Small patches and synthetic finishes | Easier to apply, good adhesion, moderate cost |
Bonding agent | Improve adhesion to aged stucco or smooth surfaces | Essential for longevity; low cost with high impact |
Exterior sealants/caulk | Control joints, window perimeters | Prevents moisture ingress; choose UV-stable formulations |
EIFS-compatible products | Repairs on synthetic stucco systems | Requires system-matched materials and trained applicator |
What Are the Different Types of Stucco Mixes and Patching Compounds?
Stucco patching compounds include cement-based mixes for traditional cement stucco, acrylic premixed patches for small repairs and synthetic systems, and proprietary premixed kits that simplify texture matching. Cement mixes offer long-term durability and compatibility with older cementitious finishes but require mixing and layered application. Acrylic premixes are user-friendly, flexible, and often used for repair on painted or acrylic finishes; choose the type matching the existing system to avoid delamination. Understanding the pros and cons of each helps you pick the right product for longevity and appearance.
How Do Bonding Agents, Sealants, and Caulks Improve Repair Longevity?
Bonding agents chemically or mechanically enhance the connection between old stucco and new repairs, preventing premature failure and promoting cohesive cure; sealants and caulks protect transitions and control joints from water ingress. Use bonding agents on smooth or aged substrates before applying patching compound, and choose exterior-grade, UV-stable sealants at windows, roof intersections, and control joints. Proper application—thin, even bonding agent coat and backer-rod where appropriate—ensures the repair resists movement and weathering. Attention to these details reduces recurring leaks and extends the time until next maintenance.
What Tools Are Essential for Quality Stucco Repair?
Professional-grade tools include margin trowels, hawks, mixers, grinders for feathering old material, and texture tools for replication; DIY alternatives can achieve good results on small patches if used correctly. Selection of the right trowel size, a consistent mixer for premix patches, and appropriate abrasive tools for surface prep matters for adhesion and finish appearance. Maintain tools clean to prevent contamination and use disposable mixing paddles for different products to avoid cross-reactivity. Proper tool choice improves efficiency and the visual outcome, and when texture matching is difficult, consult a contractor.
How to Match Stucco Texture and Color for Seamless Repairs?
Texture and color matching requires sampling, layering, and possibly tinting the patch or post-repair painting to blend with the existing finish; small test patches are invaluable to confirm match before finishing. Techniques include recreating stipple or dash patterns with matching tools, letting the patch cure and then adjusting color with tinted primers or topcoats, and using multiple thin layers to mimic depth. When the original finish is weathered or unevenly colored, professional color-matching and feathered repainting across adjacent areas may be the most effective route. If seamless match is critical for curb appeal, a contractor experienced in texture replication can deliver best results
How Can You Maintain Stucco to Prevent Future Damage and Extend Its Lifespan?
Routine maintenance, correct flashing, and prompt sealing of joints preserve stucco performance and significantly reduce the frequency of major repairs; an annual inspection routine catches early signs before they escalate. Maintenance tasks focus on keeping water off the wall assembly, clearing vegetation away from finishes, cleaning without abrasive pressure washing, and verifying flashing and sealants around penetrations. The subsections that follow provide inspection and cleaning best practices, installation details that prevent damage, climate-specific mitigation, and recommended intervals for professional maintenance checks.
What Are the Best Practices for Regular Stucco Inspection and Cleaning?
Inspect stucco at least annually and after major storms, looking for new cracks, staining, bubbling, and failed sealants; cleaning should use low-pressure washing and mild detergents to avoid abrading the finish. Checklist items include tapping suspect areas to detect hollowness, checking window and roof intersections for flashing integrity, and inspecting the base of walls for kicked-up soil or vegetation that traps moisture. For cleaning, avoid high-pressure washers that can force water behind the finish; instead, use a soft-bristled brush, gentle cleaner, and careful rinsing. Regular inspection and conservative cleaning keep surfaces functional and preserve finish life.
How Does Proper Installation and Flashing Prevent Stucco Damage?
Proper installation includes sheathing and building paper, correctly installed lath, weep screed at the base, and correctly integrated flashing at windows and roof intersections; deficiencies in any of these lead to moisture intrusion and early failure. Flashing directs water away from vulnerable transitions and, when combined with a continuous drainage plane, prevents moisture accumulation behind the finish. Common installation mistakes include omitted weep screeds, improperly lapped building paper, and poorly sealed window interfaces. Addressing these details at installation or during repairs significantly reduces the future need for remediation and prolongs system durability.
EIFS Wall Moisture Management and Drainage Planes Moisture management of EIFS walls is crucial for preventing water penetration and subsequent damage. The drainage plane plays a vital role in this process by allowing for the drainage of rain and preventing moisture buildup within the wall assembly. Effective control of water vapor is also a key consideration in maintaining the integrity of EIFS systems.
What Environmental Factors Affect Stucco Durability and How to Mitigate Them?
Climate stressors—UV exposure, freeze-thaw cycles, coastal salt spray, and heavy rainfall—affect stucco durability differently and require mitigation such as UV-resistant coatings, flexible sealants in cold climates, and robust drainage in wet regions. In hot, dry climates, thermal movement creates more hairline cracking and benefits from flexible finishes and proper control joints; coastal climates need corrosion-resistant fasteners and frequent inspections for salt-related deterioration. Tailoring maintenance—like more frequent inspections in freeze-thaw zones and selecting appropriate sealants—reduces weather-driven failures and extends the life of the finish.
How Do You Fix Stucco Damage Quickly and Effectively?
Quick, effective stucco repair starts with correct diagnosis: determine whether damage is cosmetic or moisture-driven, then follow a standard repair workflow for small areas—clean, apply bonding agent, patch with compatible compound, texture, cure, and seal. For minor hairline cracks and small holes, a single-day repair that follows these steps typically restores appearance and weather resistance; for water-damaged areas, drying and substrate repair are essential before patching. Immediate action to stop water entry—repair flashing or seal joints—prevents escalation and makes permanent repair more effective.
What Causes Stucco to Crack and Bubble?
Stucco cracks and bubbles primarily due to moisture intrusion, thermal and structural movement, improper mix or curing, and failures in flashing or drainage planes; bubbles (blisters) and delamination usually indicate trapped moisture or poor bond to the substrate. Preventive measures include correctly installed flashing, controlled joints for movement, proper cure times during installation, and regular inspections to catch water entry early. Addressing root causes rather than surface symptoms prevents repeated repairs.
How Much Does Stucco Repair Typically Cost?
Typical costs range from under a few hundred dollars for hairline crack sealing to thousands for localized moisture remediation and several thousands to tens of thousands for full re-stuccoing; the exact price depends on damage extent, stucco type, access, and whether substrate replacement is required. Use the earlier cost table and obtain multiple written quotes for accurate planning and budgeting.
How Do You Identify Water Damage in Stucco Walls?
Identify water damage by looking for bubbling or hollow-sounding patches, staining or efflorescence, soft sheathing or interior drywall discoloration, and persistent musty odors; tactile probing and moisture meters confirm the extent. Immediate steps include stopping active leaks, isolating wet areas, and contacting a professional if probing reveals soft sheathing or mold signs.
Diagnostic checklist:
- Visual: Look for bubbles, stains, and efflorescence.
- Tactile: Tap and probe for hollowness or softness.
- Interior check: Inspect nearby drywall for staining or odor.
Use these tools to support accurate diagnosis and to decide between DIY and professional repair.
Tool/Material | Purpose | Pro Tip |
Moisture meter | Confirm moisture levels behind stucco | Measure multiple locations to map intrusion |
Infrared scan (pro) | Identify hidden cold/wet spots | Used by contractors for large or ambiguous cases |
Patch kit | Small repairs on-site | Match product to existing finish type |
OUR SUPPLIERS
Every project is unique and requires a different approach. Working with variety of suppliers and manufacturers ensure that we deliver the best results.